
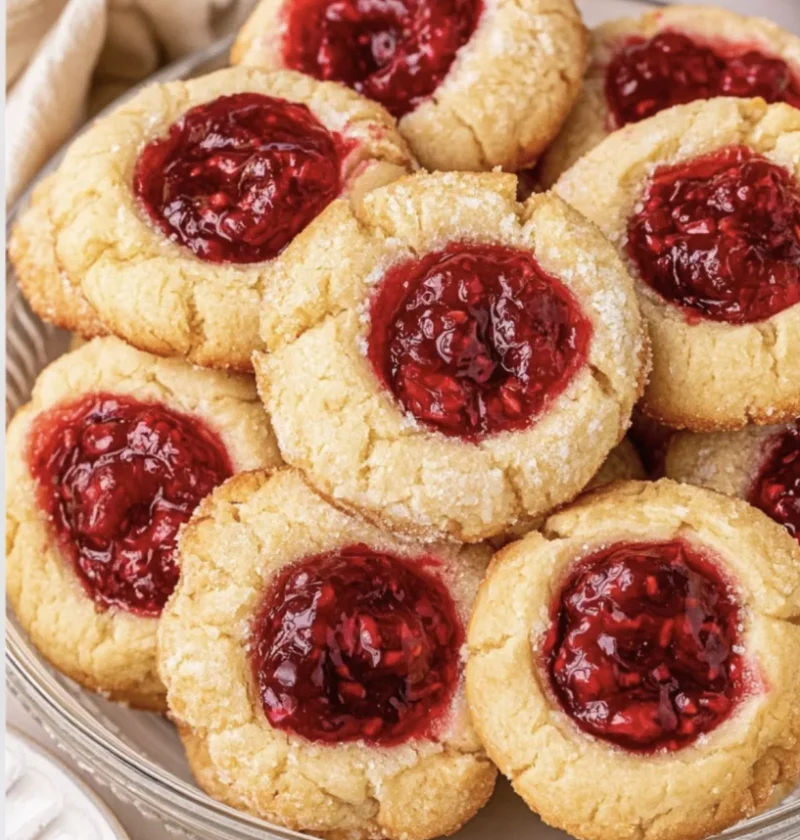
Raspberry Thumbprint Cookies are a delightful treat that beautifully combines the buttery richness of classic cookies with a vibrant raspberry jam filling. These cookies not only look charming with their signature thumbprint but also offer a lovely balance of sweet and tart flavors. Originating in Eastern Europe, thumbprint cookies have been a beloved snack for generations, often made during festive occasions and family gatherings. Their simplicity and versatility make them an excellent choice for both novice bakers and seasoned pros, while the raspberry filling adds a refreshing twist that elevates these cookies to a new level of deliciousness. Whether you’re preparing for a holiday gathering or simply looking to satisfy your sweet tooth, these Raspberry Thumbprint Cookies are sure to impress! The contrast of the buttery cookie with the tangy raspberry jam creates a unique culinary experience that will leave your guests asking for seconds. Plus, the ease of preparing this recipe makes it perfect for creating cherished family memories in the kitchen, where the aroma of freshly baked cookies fills the air and brings everyone together. The texture is soft yet slightly chewy, and the vibrant raspberry jam not only enhances the cookie’s visual appeal but also offers a delightful burst of flavor in every bite.
Ingredients
- Dry Ingredients:
- 2 cups all-purpose flour (sifted for a lighter texture; sifting helps to aerate the flour, giving your cookies a better rise)
- 1/2 teaspoon baking powder (to help the cookies rise a bit, ensuring a light and fluffy cookie)
- 1/4 teaspoon salt (this enhances the flavor of the cookies, creating a more balanced sweetness)
- Wet Ingredients:
- 1 cup unsalted butter, softened (ensure it’s at room temperature for easier mixing, which allows for a smooth incorporation with the sugar and other ingredients; this will help the ingredients blend seamlessly)
- 3/4 cup granulated sugar (for a sweeter cookie, you can adjust this slightly; using brown sugar can add a hint of molasses flavor, giving a richer taste and slightly different texture)
- 1 teaspoon vanilla extract (pure vanilla extract is recommended for the best flavor; it can make a significant difference in the final taste of your cookies)
- 1 large egg yolk (this adds richness and a beautiful color to the cookies; avoid using the egg white as it can alter the texture, making them less tender)
- Filling:
- 1/2 cup raspberry jam (preferably seedless for a smoother texture, ensuring an uninterrupted experience while biting into the cookie; it’s best to choose high-fruit content jam for richer flavor)
For best results, use high-quality raspberry jam; homemade is ideal if you have it on hand, as it will enhance the flavor of your cookies and provide a lovely, rich filling. If you’re looking for lower-sugar options, consider using fruit preserves with no added sugars or opt for a natural fruit spread. Alternatively, you can use other berry jams like strawberry or blueberry if you prefer, giving your cookies a unique twist. The variety of fillings you can use allows for endless creativity in your baking, making it a fun activity to experiment with different flavors and combinations. You can learn more about this topic and explore the history behind these delightful cookies.
Steps / Instructions
- Preheat your oven. Set your oven to 350°F (175°C). Line a baking sheet with parchment paper to prevent sticking and ensure even baking. This step is crucial for achieving that perfect golden crust, as an adequately preheated oven helps the cookies rise correctly and cook evenly throughout.
- Combine dry ingredients. In a medium bowl, whisk together the all-purpose flour, baking powder, and salt until well blended. Ensure there are no lumps in the flour mixture, as this will aid in achieving a uniform dough. Set aside for later use, allowing the baking powder to activate slightly with exposure to air, which can enhance the texture of the final cookies.
- Mix the butter and sugar. In a large mixing bowl, cream together the softened butter and granulated sugar using an electric mixer on medium speed. Beat until the mixture is light and fluffy, about 3-4 minutes. This aeration is key to achieving a tender cookie and improves the overall texture by incorporating air, helping to create that melt-in-your-mouth quality.
- Add the egg yolk and vanilla. Mix in the egg yolk and vanilla extract until fully incorporated into the butter-sugar mixture. Scrape down the sides of the bowl with a spatula to ensure all ingredients are mixed evenly. This helps in achieving a consistent dough texture, which is essential for uniform baking.
- Incorporate the dry ingredients. Gradually add the flour mixture to the wet ingredients, mixing on low speed until just combined. Be careful not to overmix; the dough should be soft and slightly sticky, which is perfect for forming cookies. This stage is where the dough begins to come together, so monitor the texture closely, ensuring it is not too dry or too wet.
- Form the cookies. Using a tablespoon, scoop out portions of dough and roll them into balls, about 1 inch in diameter. Place them on the prepared baking sheet, spacing them about 2 inches apart to allow for spreading during baking. This spacing is essential to prevent the cookies from merging into one another, ensuring they maintain their signature shape and thumbprint.
- Create thumbprints. Using your thumb (or the back of a small spoon), gently press down in the center of each ball to create an indentation. Be sure not to press too hard; you want a nice pocket for the filling that will hold the raspberry jam perfectly without breaking the cookie, creating a delightful visual and taste experience.
- Add the jam filling. Spoon about 1/2 teaspoon of raspberry jam into each thumbprint indentation. This will create a beautiful and tasty center, which will melt slightly during baking, infusing the cookie with flavor and creating a delightful surprise with each bite. Ensure the jam is not overflowing to maintain the cookie’s shape.
- Bake the cookies. Place the baking sheet in the preheated oven and bake for 12-15 minutes, or until the edges are lightly golden. The centers may look slightly soft but will firm up as they cool, ensuring a chewy texture that is characteristic of these delightful Raspberry Thumbprint Cookies. Keep an eye on them towards the end of the baking time to avoid overbaking.
- Cool the cookies. Remove the cookies from the oven and allow them to cool on the baking sheet for 5 minutes before transferring them to a wire rack to cool completely. This cooling period helps maintain their structure and prevents them from becoming too soft or falling apart, ensuring they are just right for serving.
Tips & Tricks
To achieve the best results with your Raspberry Thumbprint Cookies, keep these tips in mind: Check out our related guide for more tips that can refine your baking skills, ensuring your cookies turn out perfectly every time.
- Storage: Store the cookies in an airtight container at room temperature for up to one week. For longer storage, consider freezing them. Place layers of parchment paper between the cookies and wrap them tightly before freezing; this will help maintain their texture and prevent freezer burn, allowing you to enjoy them later.
- Make-ahead options: You can prepare the dough a day in advance and refrigerate it. Allow it to come to room temperature before rolling and baking. This makes it easier to work with and improves the flavors, as resting the dough allows the ingredients to meld and develop a richer taste, enhancing the overall cookie experience.
- Avoiding common mistakes: Make sure your butter is at room temperature for easier mixing. Overmixing can lead to tough cookies, so mix until just combined. Additionally, ensure the jam filling doesn’t overflow the thumbprints during baking, as this can create a mess on your baking sheet and result in less aesthetically pleasing cookies, affecting their overall appeal.
- Pro techniques: For perfectly uniform cookies, use a cookie scoop for even sizing. This will ensure they bake evenly and look appealing. Consider using a silicone baking mat instead of parchment paper for an even better non-stick surface, which can help achieve a perfect bake without sticking, ensuring the cookies are easy to remove.
Conclusion
Raspberry Thumbprint Cookies are a delightful addition to any dessert table and embody the perfect balance of sweet and tart flavors. With simple ingredients and easy steps, they are ideal for both novice bakers and seasoned pros. Give this recipe a try, and let the soft, chewy texture and vibrant raspberry jam filling charm your taste buds! These cookies not only make for a fantastic treat but also serve as a beautiful gift for friends and family, showcasing your baking prowess with minimal effort. Whether enjoyed with a cup of tea or as a delightful dessert after dinner, these cookies are sure to leave a lasting impression. Each bite is a reminder of the joy of baking and the love shared around the table.
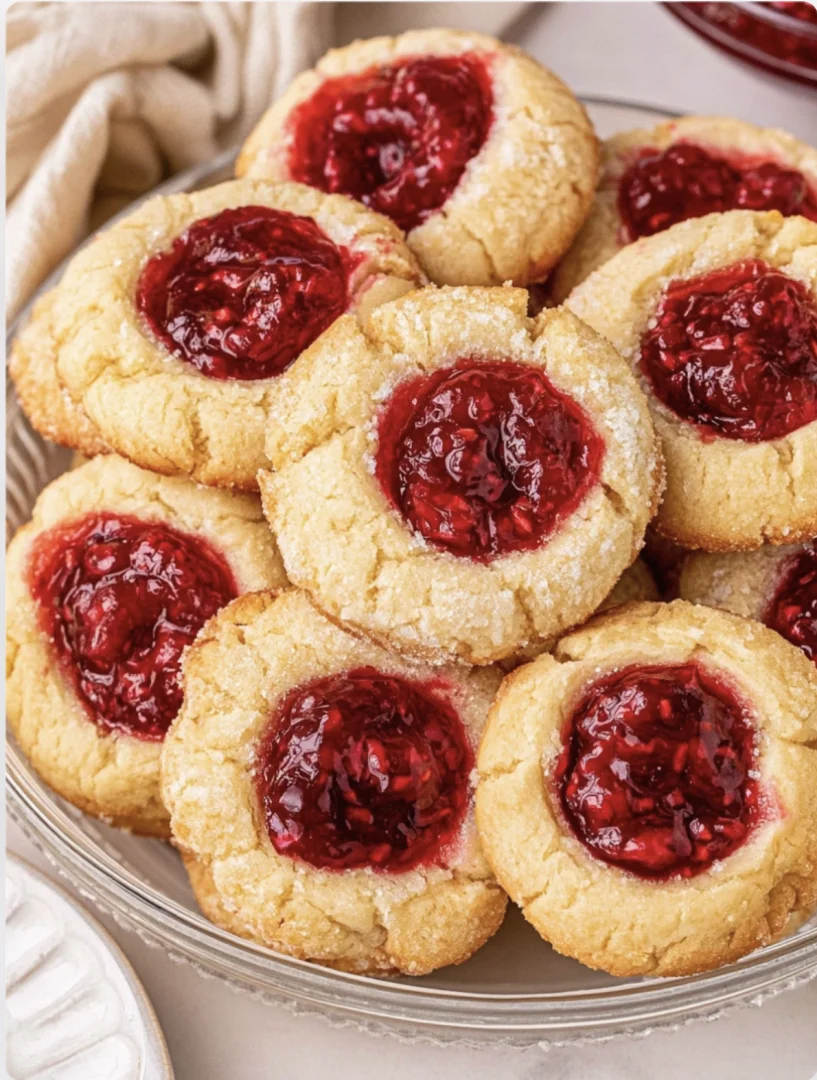
Raspberry Thumbprint Cookies
Raspberry Thumbprint Cookies are a delightful treat that beautifully combines the buttery richness of classic cookies with a vibrant raspberry jam filling. These cookies not only look charming with their signature thumbprint but also offer a lovely balance of sweet and tart flavors.
Ingredients
- 2 cups all-purpose flour (sifted)
- 1/2 teaspoon baking powder
- 1/4 teaspoon salt
- 1 cup unsalted butter, softened
- 3/4 cup granulated sugar
- 1 teaspoon vanilla extract
- 1 large egg yolk
- 1/2 cup raspberry jam
Directions
Preheat your oven to 350°F (175°C). Line a baking sheet with parchment paper.
In a medium bowl, whisk together the all-purpose flour, baking powder, and salt until well blended. Set aside.
In a large mixing bowl, cream together the softened butter and granulated sugar using an electric mixer on medium speed until light and fluffy, about 3-4 minutes.
Mix in the egg yolk and vanilla extract until fully incorporated. Scrape down the sides of the bowl to ensure even mixing.
Gradually add the flour mixture to the wet ingredients, mixing on low speed until just combined.
Using a tablespoon, scoop out portions of dough and roll them into balls, about 1 inch in diameter. Place them on the prepared baking sheet, spacing them about 2 inches apart.
Using your thumb, gently press down in the center of each ball to create an indentation.
Spoon about 1/2 teaspoon of raspberry jam into each thumbprint indentation.
Place the baking sheet in the preheated oven and bake for 12-15 minutes, or until the edges are lightly golden.
Remove the cookies from the oven and allow them to cool on the baking sheet for 5 minutes before transferring them to a wire rack to cool completely.
Nutrition Facts
Recipe Reviews
- ★★★★★
Excellent recipe!
Leave a Reply
Your email address will not be published. Required fields are marked *




Excellent recipe!