Cheese Danish Recipe
Introduction
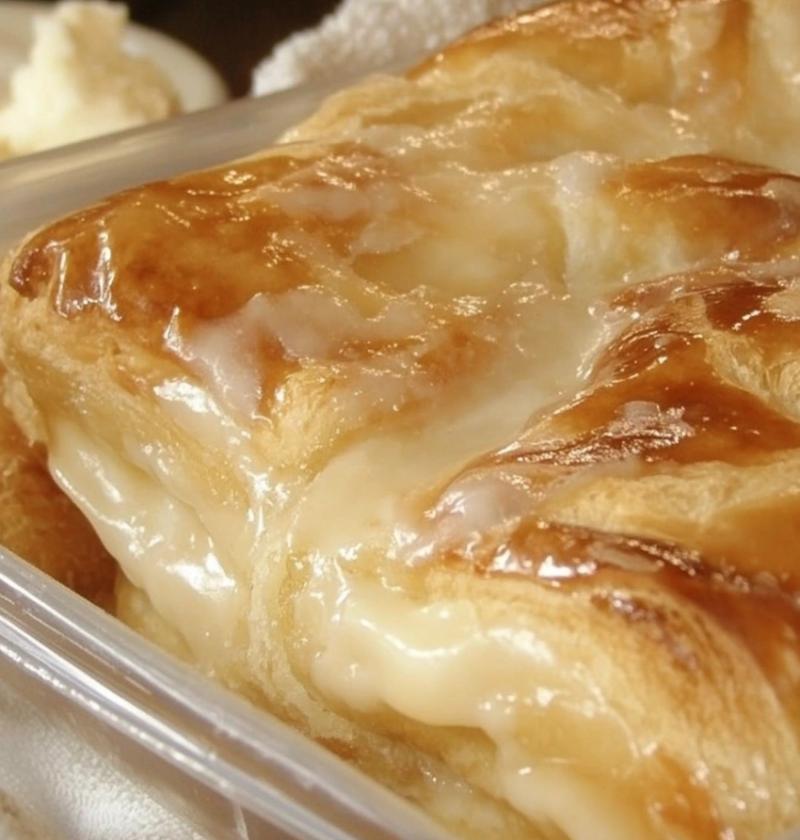
Welcome to our delicious cheese danish recipe! If you’re a fan of flaky pastries filled with creamy cheese, then you’re in for a treat. This recipe will guide you through the process of making homemade cheese danish that will impress your family and friends. Get ready to indulge in a delightful pastry that is perfect for breakfast, brunch, or a sweet treat any time of the day.
Ingredients
To make the cheese danish, you will need the following ingredients:
Pastries:
– 2 cups all-purpose flour
– 1/4 cup granulated sugar
– 1/2 teaspoon salt
– 1 cup unsalted butter, cold and cubed
– 1/2 cup sour cream
– 1 egg yolk
– 1 teaspoon vanilla extract
Cheese Filling:
– 1 cup cream cheese, softened
– 1/4 cup granulated sugar
– 1 egg yolk
– 1/2 teaspoon lemon zest
– 1/2 teaspoon vanilla extract
Steps
Follow these steps to make the perfect cheese danish:
Step 1: Prepare the Pastry
In a large mixing bowl, combine the all-purpose flour, granulated sugar, and salt. Cut in the cold cubed butter using a pastry cutter or your fingertips until the mixture resembles coarse crumbs.
In a separate bowl, whisk together the sour cream, egg yolk, and vanilla extract. Pour the wet mixture into the dry mixture and stir until a dough forms. Shape the dough into a disk, wrap it in plastic wrap, and refrigerate for at least 1 hour.
Step 2: Make the Cheese Filling
In another bowl, beat the cream cheese, granulated sugar, egg yolk, lemon zest, and vanilla extract until smooth and creamy.
Step 3: Assemble and Bake
Preheat your oven to 375°F (190°C) and line a baking sheet with parchment paper.
Roll out the chilled pastry dough on a floured surface to a thickness of about 1/4 inch. Cut the dough into rectangles of your desired size.
Place a spoonful of the cream cheese filling in the center of each pastry rectangle. Fold the corners of the dough over the filling, forming a diamond shape.
Transfer the filled pastries onto the prepared baking sheet and brush the tops with beaten egg for a golden finish.
Bake the cheese danish for approximately 15-20 minutes, or until the pastries are puffed and golden brown. Allow them to cool slightly before serving.
Variations
There are endless possibilities to customize your cheese danish:
– Add fruit preserves or pie filling on top of the cream cheese filling before folding the dough.
– Sprinkle chopped nuts or chocolate chips over the filling for added texture and flavor.
– Drizzle a glaze made of powdered sugar and milk over the baked danish for a sweet finish.
Tips
Here are some tips to ensure your cheese danish turns out perfect:
– Make sure the cream cheese is softened to room temperature for a smooth filling.
– Refrigerate the pastry dough before rolling it out to make it easier to work with.
– Don’t overfill the pastries to prevent leakage during baking.
– Serve the cheese danish warm or at room temperature for the best taste and texture.
Conclusion
Now that you have the recipe for homemade cheese danish, it’s time to put your baking skills to the test. With its buttery, flaky crust and luscious cream cheese filling, this pastry is sure to become a favorite in your household. Enjoy it with a cup of coffee or tea, and savor each bite of this irresistible treat. Bon appétit!
FAQs
1. Can I use a different type of cheese for the filling?
Yes, you can experiment with different types of cheese such as ricotta or mascarpone to create unique flavors.
2. Can I freeze the cheese danish?
Yes, you can freeze the baked danish for up to 1 month. Just make sure to wrap them tightly in plastic wrap and store in an airtight container.
3. Can I make the pastry dough in advance?
Yes, you can prepare the pastry dough a day in advance and keep it refrigerated until ready to use.