Orange Creamsicle Cheesecake: A Delightful Citrus Twist
Introduction
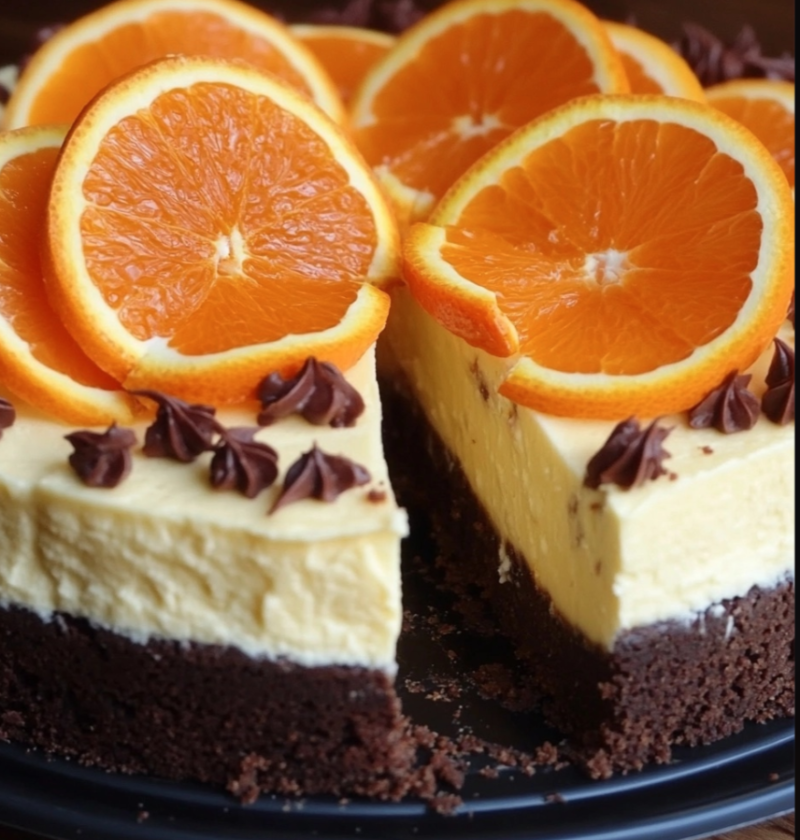
Indulging in a luscious dessert after a satisfying meal is one of life’s greatest pleasures. If you are a fan of the classic creamsicle popsicle, you will be delighted to discover this orange creamsicle cheesecake recipe. Combining the tangy freshness of oranges with the creamy richness of cheesecake, this dessert is a true delight for your taste buds. Whether you are hosting a dinner party or simply looking to treat yourself, this recipe is sure to impress. In this article, we will guide you through the process of creating this mouthwatering orange creamsicle cheesecake.
Ingredients
Before diving into the recipe, let’s gather all the ingredients you will need:
– 2 cups of graham cracker crumbs
– 1/2 cup of melted butter
– 3 packages (8 ounces each) of cream cheese, softened
– 1 cup of granulated sugar
– 1 tablespoon of all-purpose flour
– 1 teaspoon of vanilla extract
– 3 large eggs
– 1/4 cup of freshly squeezed orange juice
– Zest of 2 oranges
– 1/2 cup of heavy cream
– Orange food coloring (optional)
– Whipped cream and orange slices for garnish
Steps
Now that we have our ingredients ready, let’s move on to the step-by-step process of making this delightful orange creamsicle cheesecake:
1. Preheat your oven to 325°F (163°C). In a medium bowl, combine the graham cracker crumbs and melted butter, mixing until the crumbs are evenly coated. Press the mixture into the bottom of a 9-inch springform pan, creating a firm crust. Place the pan in the refrigerator to chill while you prepare the filling.
2. In a large mixing bowl, beat the cream cheese, granulated sugar, flour, and vanilla extract until smooth and creamy. Add the eggs one at a time, beating well after each addition. Gradually mix in the orange juice, orange zest, and heavy cream. If desired, add a few drops of orange food coloring to enhance the vibrant color of the cheesecake.
3. Remove the springform pan from the refrigerator and pour the cream cheese mixture over the crust. Use a spatula to smooth the top and ensure an even distribution. Tap the pan gently on the counter to release any air bubbles.
4. Place the pan in the preheated oven and bake for approximately 60-70 minutes, or until the edges are set and the center is slightly jiggly. Turn off the oven and leave the cheesecake inside with the door slightly ajar for about an hour to prevent cracking.
5. After the cheesecake has cooled, remove it from the oven and let it come to room temperature. Cover it with plastic wrap and refrigerate for at least 4 hours, or preferably overnight, to allow it to set and develop its flavors.
6. When you are ready to serve, carefully remove the sides of the springform pan. Garnish the cheesecake with dollops of whipped cream and orange slices for an extra touch of elegance. Slice into generous portions and enjoy the creamy, citrusy goodness of this orange creamsicle cheesecake.
Variations
While this recipe is already a delightful treat on its own, you can experiment with a few variations to add your own personal touch:
– Chocolate Drizzle: Melt some chocolate chips and drizzle the melted chocolate over the top of the cheesecake before serving. The combination of orange and chocolate is simply divine.
– Graham Cracker Crust Variations: If you prefer a different base for your cheesecake, you can try using chocolate cookie crumbs, vanilla wafer crumbs, or even a gingerbread crust to add a unique twist.
– Citrus Medley: Instead of using only orange juice and zest, you can mix in a combination of citrus fruits such as lemon, lime, and grapefruit. This will create a more complex and tangy flavor profile.
Tips
To ensure the success of your orange creamsicle cheesecake, here are a few tips to keep in mind:
– Use Room Temperature Ingredients: Make sure all the dairy ingredients, including cream cheese and eggs, are at room temperature before you begin. This will ensure a smooth and creamy texture.
– Don’t Overmix: When incorporating the eggs into the cream cheese mixture, avoid overmixing. Overmixing can introduce too much air into the batter, leading to cracks on the surface of the cheesecake.
– Water Bath: To prevent the cheesecake from cracking, you can place the springform pan in a larger roasting pan filled with hot water before baking. The water bath helps to regulate the temperature and create a moist baking environment.
– Patience is Key: It’s hard to resist the temptation, but allow the cheesecake to cool and set properly in the refrigerator for the recommended time. This will enhance the texture and flavor, resulting in a perfect creamy consistency.
Conclusion
In conclusion, this orange creamsicle cheesecake is a delightful dessert that combines the refreshing flavors of oranges with the velvety smoothness of cheesecake. With its vibrant color and creamy texture, it is sure to be a hit at any gathering or as a special treat for yourself. Follow the steps carefully, experiment with variations if desired, and remember the helpful tips to ensure your cheesecake turns out perfectly every time. So go ahead, treat yourself and your loved ones to this citrusy indulgence and savor the heavenly combination of orange and cream in every bite.
FAQs
Q: Can I use store-bought orange juice instead of freshly squeezed?
A: While using freshly squeezed orange juice will give you the best flavor, you can substitute it with store-bought orange juice if needed. Just make sure it is 100% orange juice without any added sugars or artificial flavors.
Q: Can I use low-fat cream cheese for a lighter version?
A: Yes, you can use low-fat cream cheese if you prefer a lighter version of the cheesecake. However, keep in mind that the texture and flavor may vary slightly.
Q: How long can I store the cheesecake?
A: This orange creamsicle cheesecake can be stored in the refrigerator for up to 4-5 days. Make sure to cover it tightly with plastic wrap or store it in an airtight container to maintain its freshness.
Q: Can I freeze the cheesecake?
A: Yes, you can freeze the cheesecake for up to 2 months. Wrap it tightly in plastic wrap and place it in a freezer-safe container. Thaw it in the refrigerator overnight before serving.