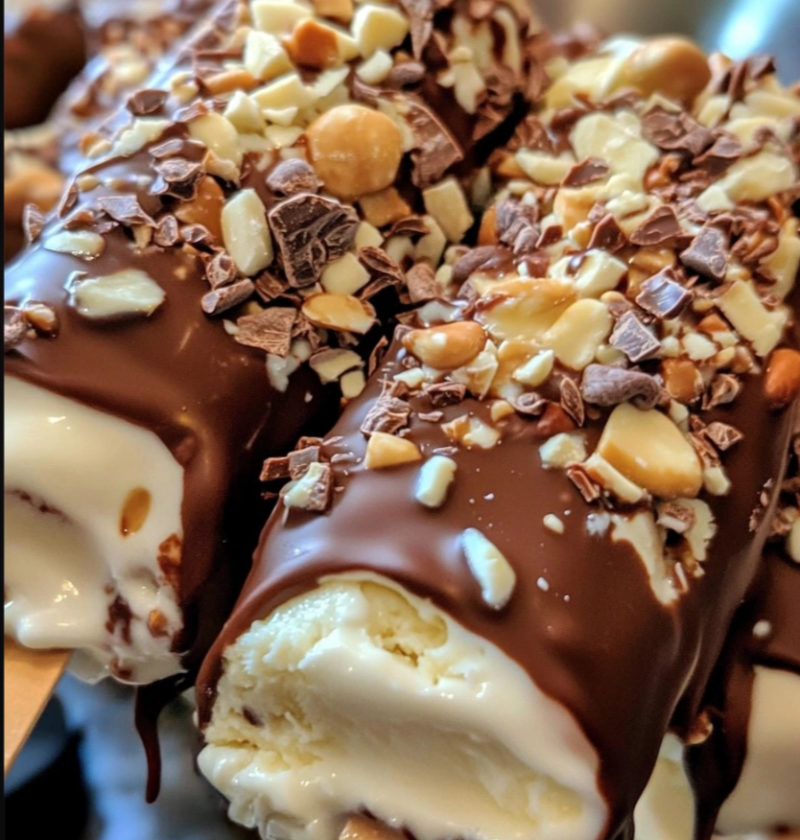
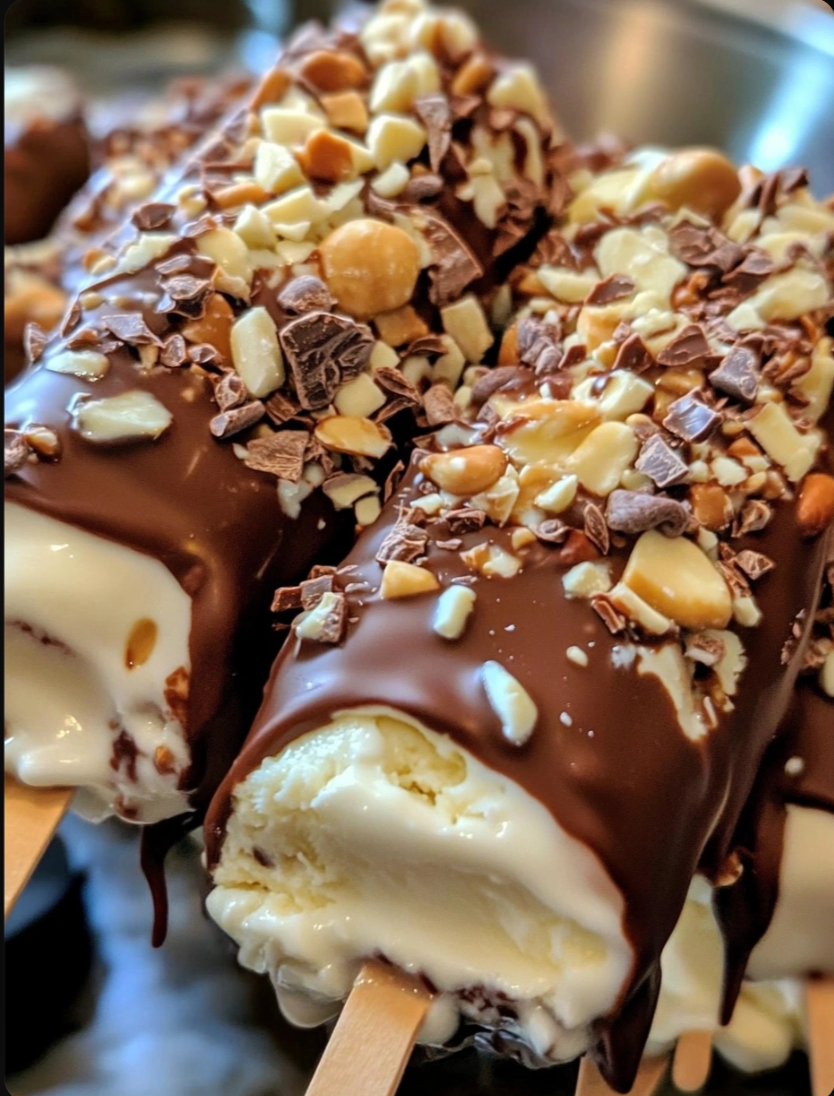
Homemade Chocolate-Covered Ice Cream Bars
Introduction
Indulging in a delicious chocolate-covered ice cream bar on a hot summer day is pure bliss. But why settle for store-bought treats when you can make your own homemade version? Not only can you customize the flavors and toppings, but you also have control over the quality of ingredients. In this article, we will guide you through the process of making irresistible chocolate-covered ice cream bars right in your own kitchen.
Ingredients
Before diving into the steps, let’s gather the ingredients you’ll need:
1. Ice cream of your choice (vanilla, chocolate, strawberry, etc.)
2. High-quality chocolate (dark, milk, or white)
3. Toppings (crushed nuts, sprinkles, shredded coconut, etc.)
4. Popsicle sticks or wooden skewers
Steps
Now that you have all the ingredients ready, let’s get started with the step-by-step process:
1. Prepare the Ice Cream
Take your favorite ice cream out of the freezer and let it soften slightly at room temperature. This will make it easier to work with.
Once the ice cream is soft enough to handle, scoop it into rectangular or square shapes onto a baking sheet lined with parchment paper. You can use an ice cream scoop or a spoon for this.
Insert a popsicle stick or a wooden skewer into each ice cream portion, making sure it is centered and secure. Place the baking sheet in the freezer and let the ice cream bars firm up for at least two hours.
2. Melt the Chocolate
While the ice cream bars are freezing, it’s time to melt the chocolate. Chop the chocolate into small, even pieces and place them in a microwave-safe bowl.
Heat the chocolate in short bursts in the microwave, stirring in between each interval. Be careful not to overheat the chocolate, as it can scorch easily.
Once the chocolate is smooth and fully melted, let it cool slightly before proceeding to the next step.
3. Dip the Ice Cream Bars
Take the frozen ice cream bars out of the freezer and set them aside. Line another baking sheet with parchment paper for the dipped bars.
Dip each ice cream bar into the melted chocolate, using a spoon or spatula to evenly coat all sides. Allow any excess chocolate to drip off before placing the bars on the prepared baking sheet.
If desired, sprinkle the toppings of your choice onto the chocolate coating while it is still wet. This will add a delightful crunch and extra flavor.
Return the dipped ice cream bars to the freezer and let them harden for at least one hour, or until the chocolate is completely set.
Variations
Once you have mastered the basic technique of making chocolate-covered ice cream bars, you can experiment with various flavors and toppings to create endless combinations:
1. Mint Chocolate Chip: Use mint ice cream and sprinkle crushed peppermint candies on top of the chocolate coating.
2. Cookies and Cream: Use cookies and cream ice cream and roll the chocolate-coated bars in crushed chocolate sandwich cookies.
3. Peanut Butter Swirl: Swirl peanut butter into the ice cream before freezing, and drizzle melted peanut butter on top of the chocolate coating.
Tips
Here are some helpful tips to ensure your homemade chocolate-covered ice cream bars turn out perfect every time:
1. Use high-quality chocolate for the best flavor and texture.
2. If you prefer a thinner chocolate coating, add a small amount of vegetable oil or coconut oil to the melted chocolate.
3. For a smoother chocolate coating, temper the chocolate before dipping the ice cream bars. This will give the chocolate a glossy finish and prevent it from blooming.
4. Experiment with different toppings and decorations to add a personal touch to your ice cream bars.
Conclusion
Creating your own homemade chocolate-covered ice cream bars is a rewarding and delicious endeavor. With just a few simple steps, you can enjoy a frozen treat that surpasses any store-bought version. Whether you stick to classic flavors or get creative with unique combinations, these bars are sure to be a hit with family and friends. So, grab your favorite ice cream flavors and get ready to embark on a delightful journey of homemade frozen indulgence!
FAQs
Q: Can I use store-bought ice cream for this recipe?
A: Absolutely! Store-bought ice cream works perfectly fine for making homemade chocolate-covered ice cream bars. Just make sure it is slightly softened before scooping and shaping into bars.
Q: Can I use vegan or dairy-free alternatives?
A: Yes, you can use vegan or dairy-free ice cream options to accommodate dietary restrictions or preferences. There are many delicious non-dairy ice creams available on the market that would work well in this recipe.
Q: How long do the homemade ice cream bars last in the freezer?
A: If stored in an airtight container or freezer bag, homemade ice cream bars can last up to 2-3 months in the freezer. However, they are best enjoyed within the first few weeks for optimal taste and texture.