Homemade Canned Pineapple Chunks
Introduction
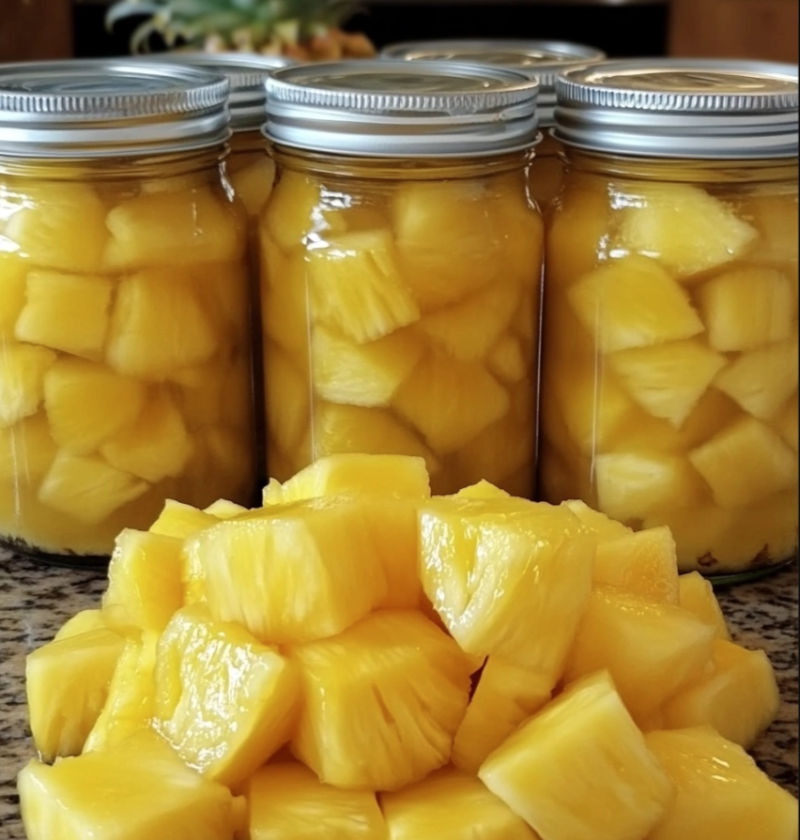
Homemade canned pineapple chunks are a delightful treat that can be enjoyed year-round. The process of canning pineapples allows you to preserve their freshness and flavor, ensuring that you can savor the taste of summer even in the colder months. In this article, we will guide you through the steps to create your own homemade canned pineapple chunks. From selecting the right pineapples to the canning process itself, we will cover everything you need to know to achieve delicious results. So, let’s dive in and discover the joy of homemade canned pineapple chunks!
Ingredients
To make homemade canned pineapple chunks, you will need the following ingredients:
1. Fresh pineapples: Choose ripe and sweet pineapples for the best flavor.
2. Canning jars: Select high-quality jars that are suitable for canning.
3. Canning lids and bands: Ensure you have new lids and bands to ensure proper sealing.
4. Water: Sufficient water is needed for the canning process.
5. Lemon juice: This will help preserve the color and flavor of the pineapple chunks.
6. Sugar (optional): If you prefer a sweeter taste, you can add sugar to the syrup.
Steps
Step 1: Prepare the Pineapples
1. Start by selecting ripe pineapples that are firm and have a sweet aroma.
2. Wash the pineapples thoroughly under running water to remove any dirt or debris.
3. Remove the crown and base of the pineapple using a sharp knife.
4. Peel off the skin, making sure to remove any remaining “eyes.”
5. Cut the pineapple into rings or chunks, depending on your preference.
Step 2: Prepare the Canning Equipment
1. Before you start canning, ensure that all your canning equipment is clean and in good condition.
2. Sterilize the canning jars by placing them in a large pot of boiling water for 10 minutes.
3. In a separate pot, bring water to a boil to use for the canning process.
Step 3: Prepare the Syrup
1. In a saucepan, combine water and sugar (if desired) and bring to a boil.
2. Stir until the sugar dissolves completely.
3. Let the syrup cool down to room temperature.
Step 4: Pack the Pineapple Chunks into Jars
1. Fill each sterilized jar with pineapple chunks, leaving about 1 inch of headspace at the top.
2. Pour the cooled syrup over the pineapple chunks, ensuring they are fully submerged.
3. Add 1 tablespoon of lemon juice to each jar to help preserve the color and flavor.
Step 5: Seal and Process the Jars
1. Wipe the rims of the jars with a clean, damp cloth to remove any residue.
2. Place the lids and bands on the jars, ensuring they are tightly sealed.
3. Carefully place the jars into the boiling water bath, making sure they are fully submerged.
4. Process the jars in boiling water for the recommended amount of time, usually around 15 minutes.
5. Once processed, carefully remove the jars from the water bath and place them on a towel to cool.
Variations
While the classic recipe for homemade canned pineapple chunks is delightful on its own, there are a few variations you can consider to add a personal touch:
1. Pineapple-Mango Blend: Add diced mangoes to the pineapple chunks for a tropical twist.
2. Spiced Pineapple: Infuse the syrup with spices like cinnamon, cloves, or ginger for a flavorful kick.
3. Pineapple in Juice: Instead of using a sugar syrup, pack the pineapple chunks in their natural juice for a healthier alternative.
Feel free to experiment with different variations to create your own unique canned pineapple chunks!
Tips
To ensure successful homemade canned pineapple chunks, here are a few tips to keep in mind:
1. Select ripe and sweet pineapples for the best flavor.
2. Use high-quality canning jars, lids, and bands to ensure proper sealing.
3. Sterilize all canning equipment before use to prevent contamination.
4. Follow the recommended processing time to achieve safe and flavorful canned pineapple chunks.
5. Store the canned pineapple chunks in a cool, dark place for optimal shelf life.
Conclusion
Homemade canned pineapple chunks are a delightful treat that can be enjoyed all year long. By following the simple steps outlined in this article, you can create your own delicious canned pineapple chunks that will preserve the taste of summer. Experiment with different variations and enjoy the fruits of your labor in various recipes, from desserts to savory dishes. So why wait? Start canning your own pineapple chunks today and savor the sweet and tangy flavors whenever you desire!
FAQs
1. Can I use canned pineapple instead of fresh pineapples?
While fresh pineapples are recommended for the best flavor and texture, you can use canned pineapple if fresh is not available. However, be mindful of the added sugar and syrup in canned pineapple.
2. How long can I store homemade canned pineapple chunks?
When properly processed and sealed, homemade canned pineapple chunks can last for up to one year. However, it is recommended to consume them within six to eight months for the best quality.
3. Can I reuse the canning jars and lids?
Canning jars can be reused as long as they are in good condition and free from cracks or chips. However, canning lids are designed for one-time use only and should be replaced for each canning session to ensure proper sealing.
4. How can I use homemade canned pineapple chunks in recipes?
Homemade canned pineapple chunks can be used in various recipes, such as salads, smoothies, desserts, and even savory dishes like stir-fries or grilled skewers. They add a burst of tropical flavor to any dish!
5. Can I adjust the sweetness of the syrup?
Yes, you can adjust the sweetness of the syrup by adding more or less sugar according to your preference. Keep in mind that adding sugar also helps preserve the texture of the pineapple chunks.
Enjoy your homemade canned pineapple chunks and let your culinary creativity shine!