Coconut Thumbprint Cookies
Introduction
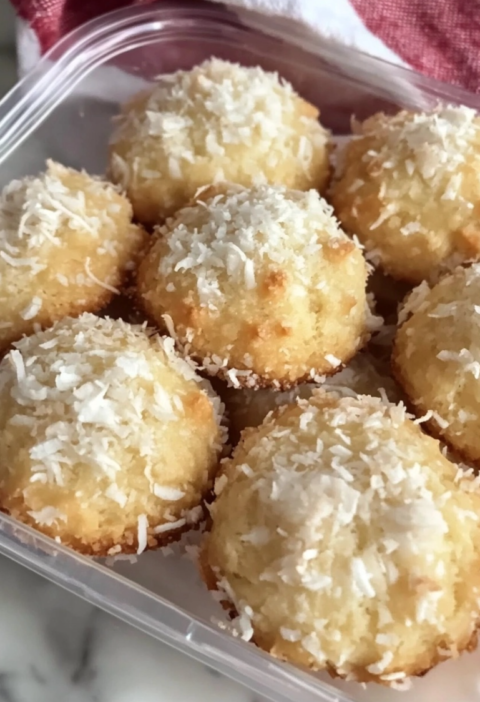
Welcome to our delicious recipe for Coconut Thumbprint Cookies. These delightful treats are perfect for any occasion and are sure to impress your friends and family. With a crispy coconut exterior and a sweet jam-filled center, these cookies are a crowd-pleaser. Follow our easy steps below to create these mouthwatering goodies in your own kitchen.
Ingredients
For this recipe, you will need the following ingredients:
Cookie Dough:
– 1 cup unsalted butter, softened
– 1/2 cup granulated sugar
– 2 cups all-purpose flour
– 1/2 teaspoon vanilla extract
– 1/4 teaspoon salt
– 1 1/2 cups shredded coconut
Fillings:
– Your choice of jam or preserves (strawberry, raspberry, apricot, etc.)
Steps
Follow these steps to make your delicious Coconut Thumbprint Cookies:
Step 1: Prepare the Cookie Dough
In a mixing bowl, cream together the softened butter and granulated sugar until light and fluffy. Add the vanilla extract and salt, and mix well. Gradually add the flour and continue mixing until well combined.
Step 2: Shape the Cookies
Take small portions of the dough and roll them into 1-inch balls. Roll each ball in the shredded coconut until coated evenly. Place the coated balls onto a baking sheet lined with parchment paper, leaving some space between each cookie.
Step 3: Create Thumbprint Indentations
Using your thumb or the back of a spoon, gently press down on the center of each cookie to create an indentation. Make sure not to press too hard, as you don’t want the cookie to crack.
Step 4: Fill with Jam
Using a teaspoon, carefully fill each indentation with your chosen jam or preserves. Be sure not to overfill, as the jam may spread during baking.
Step 5: Bake
Preheat your oven to 350°F (175°C). Place the baking sheet with the cookies in the preheated oven and bake for 12-15 minutes, or until the edges of the cookies turn golden brown. Remove from the oven and let the cookies cool on the baking sheet for a few minutes before transferring them to a wire rack to cool completely.
Variations
Feel free to experiment with different flavors and fillings for your Coconut Thumbprint Cookies. Here are a few variations you can try:
Chocolate Coconut Thumbprint Cookies:
– Add 1/4 cup unsweetened cocoa powder to the cookie dough for a chocolatey twist. Fill the indentations with chocolate ganache or chocolate spread.
Almond Coconut Thumbprint Cookies:
– Add 1/2 cup finely chopped almonds to the cookie dough. Fill the indentations with almond butter or almond paste.
Lemon Coconut Thumbprint Cookies:
– Add 1 tablespoon lemon zest to the cookie dough for a refreshing citrus flavor. Fill the indentations with lemon curd or lemon marmalade.
Tips
Here are some helpful tips to ensure your Coconut Thumbprint Cookies turn out perfectly:
– Make sure your butter is softened, but not melted, for the best texture in the cookie dough.
– Use good quality jam or preserves for the filling to achieve the best flavor.
– If the jam spreads too much during baking, try chilling the filled cookies in the refrigerator for 15 minutes before baking.
– Store the cookies in an airtight container to maintain their freshness.
Conclusion
These Coconut Thumbprint Cookies are a delightful treat that will satisfy any sweet tooth. With their crispy coconut exterior and gooey jam-filled center, they are sure to become a family favorite. Whether you’re baking them for a special occasion or simply as an afternoon snack, these cookies are guaranteed to impress. Enjoy!
FAQs
1. Can I use other types of flour?
Yes, you can experiment with different types of flour, such as whole wheat flour or almond flour, to suit your dietary preferences. However, note that the texture and taste of the cookies may vary.
2. How long do these cookies stay fresh?
When stored in an airtight container, these cookies can stay fresh for up to 5 days.
3. Can I freeze the dough?
Yes, you can freeze the cookie dough for up to 3 months. Just make sure to thaw it in the refrigerator before shaping and baking the cookies.