Introduction
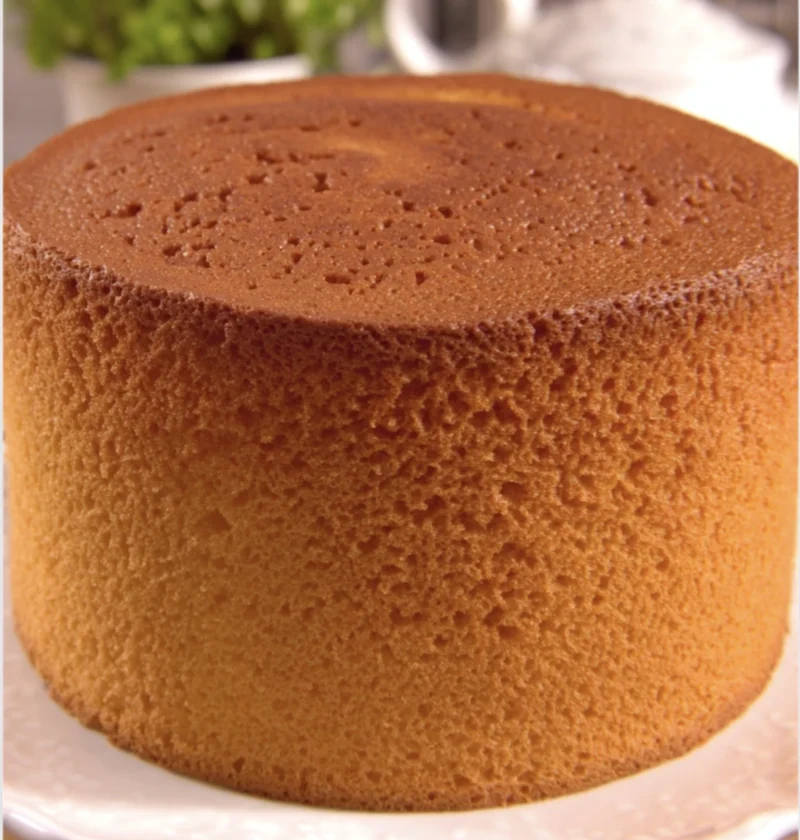
A basic Genoise sponge cake is a classic and versatile recipe that serves as the foundation for many delightful desserts. This light and airy sponge cake is known for its delicate texture and rich flavor, making it a popular choice for layered cakes, trifles, and other desserts. Mastering the art of making a Genoise sponge cake is a fundamental skill for any aspiring baker.
Despite its simple ingredients of eggs, sugar, flour, and butter, creating the perfect Genoise sponge cake requires precision and attention to detail. The technique of incorporating air into the batter through careful folding is crucial to achieving the desired lightness and volume in the final cake.
In this article, we will explore the step-by-step process of making a basic Genoise sponge cake, including essential tips and variations to help you customize this versatile recipe to your liking.
So let’s dive into the world of Genoise sponge cakes and unlock the secrets to creating a delectable dessert that will impress your friends and family.
Ingredients
To make a basic Genoise sponge cake, you will need the following ingredients:
• Eggs
• Sugar
• All-purpose flour
• Unsalted butter
These simple ingredients come together to create a delicate and flavorful sponge cake that can be enhanced with additional flavors and fillings.
When selecting your ingredients, opt for high-quality eggs, fresh butter, and fine flour to ensure the best results in your Genoise sponge cake.
Now that you have gathered your ingredients, let’s move on to the steps of making a delicious Genoise sponge cake.
Steps
1. Preheat your oven to the specified temperature and prepare your baking pans by greasing and lining them with parchment paper.
2. Begin by separating the eggs, placing the yolks and whites in separate bowls. Make sure the bowls are clean and free of any traces of grease.
3. Add sugar to the egg yolks and beat them until the mixture is pale and thick. This step is crucial for incorporating air into the batter.
4. Sift the flour and gently fold it into the egg yolk mixture until just combined. Be careful not to overmix, as this can deflate the batter.
5. In a separate clean bowl, whisk the egg whites until stiff peaks form. This will help provide the structure and lightness to the Genoise sponge cake.
6. Gently fold the whipped egg whites into the batter until evenly incorporated. Take care to maintain the volume of the batter while ensuring thorough mixing.
7. Pour the batter into the prepared baking pans and smooth the top with a spatula. Bake the cakes in the preheated oven until they are golden brown and spring back when lightly touched.
8. Once baked, remove the cakes from the oven and allow them to cool in the pans for a few minutes before transferring them to a wire rack to cool completely.
By following these steps carefully and paying attention to the details, you will be able to create a perfect Genoise sponge cake that is light, airy, and delicious.
Variations
One of the beauties of a basic Genoise sponge cake is its versatility and adaptability to different flavors and presentations. Here are some variations you can explore to customize your Genoise sponge cake:
• Lemon Genoise: Add lemon zest and a splash of lemon juice to the batter for a refreshing citrus flavor.
• Chocolate Genoise: Incorporate cocoa powder into the batter for a rich chocolatey twist.
• Almond Genoise: Replace a portion of the flour with almond flour and add almond extract for a nutty flavor profile.
• Berry Genoise: Layer the cake with fresh berries and whipped cream for a fruity and light dessert.
Feel free to experiment with different flavor combinations and fillings to create a Genoise sponge cake that suits your taste preferences and occasions.
Tips
• Ensure your eggs are at room temperature before starting the recipe to help them reach their full volume when whipped.
• Be gentle when folding the flour and egg whites into the batter to maintain the airiness of the cake.
• Avoid overbaking the Genoise sponge cake, as it can result in a dry and tough texture. Keep an eye on the cakes as they bake and test for doneness before removing them from the oven.
• Allow the cakes to cool completely before handling or frosting them to prevent them from breaking or losing their shape.
By following these tips, you can ensure that your Genoise sponge cake turns out perfectly every time, delighting your taste buds and those of your guests.
Conclusion
A basic Genoise sponge cake is a timeless classic that offers endless possibilities for creativity and flavor exploration. Whether you enjoy it on its own or as part of a layered cake or trifle, the lightness and delicate texture of a Genoise sponge cake are sure to impress.
By mastering the art of making a Genoise sponge cake and experimenting with different variations and fillings, you can elevate this simple recipe into a show-stopping dessert that will be a crowd favorite.
So gather your ingredients, preheat your oven, and embark on a culinary journey to create a delightful Genoise sponge cake that showcases your baking skills and creativity.
FAQs
Q: Can I make a Genoise sponge cake without butter?
A: While butter is a traditional ingredient in Genoise sponge cakes, you can explore alternative recipes that use oil or other substitutes for a different texture and flavor profile.
Q: How can I prevent my Genoise sponge cake from deflating after baking?
A: To prevent the cake from deflating, make sure to fold the ingredients gently and avoid overmixing. Additionally, ensure the cake is baked until fully set and allow it to cool gradually to maintain its structure.
Q: Can I freeze a Genoise sponge cake?
A: Yes, you can freeze a Genoise sponge cake for future use. Wrap the cake tightly in plastic wrap and aluminum foil before freezing to preserve its freshness and flavor.
Q: How long can a Genoise sponge cake be stored?
A: A Genoise sponge cake can be stored in an airtight container at room temperature for up to 2-3 days or in the refrigerator for up to a week. For longer storage, consider freezing the cake.
Explore the world of Genoise sponge cakes and unleash your creativity in the kitchen with this versatile and delicious dessert!