
Introduction
No-oven stovetop bread is a versatile and convenient option for those who want to enjoy freshly baked bread without the need for a traditional oven. This method allows you to create delicious bread using just a stovetop, making it perfect for situations where an oven is not available or if you simply prefer a stovetop approach. With a few simple ingredients and the right technique, you can achieve a tasty loaf of bread that will impress your family and friends.
Whether you are a beginner or an experienced baker, mastering the art of stovetop bread can be a rewarding experience. The process involves some unique steps compared to traditional oven-baked bread, but the results are equally satisfying. By following the steps outlined in this guide, you can create flavorful and aromatic bread that will fill your kitchen with the comforting scent of freshly baked goods.
One of the key advantages of making stovetop bread is the speed at which you can enjoy the fruits of your labor. Unlike oven baking, which can take hours from start to finish, stovetop bread can be ready in a fraction of the time. This makes it a great option for those who crave fresh bread but don’t have the luxury of waiting for hours for it to bake.
So, if you’re ready to embark on a culinary adventure and explore the world of no-oven stovetop bread, let’s dive into the ingredients you’ll need and the steps to follow to create your own signature loaf.
Ingredients
To make delicious no-oven stovetop bread, you will need the following ingredients:
1. Flour
The key ingredient in any bread recipe is flour. Opt for high-quality all-purpose flour or bread flour for the best results. You can also experiment with whole wheat flour or other specialty flours to add depth of flavor and texture to your bread.
2. Yeast
Yeast is essential for helping the bread dough rise and develop that airy, light texture. Active dry yeast or instant yeast are common choices for bread baking. Make sure your yeast is fresh and within its expiration date for optimal results.
3. Water
Water is the liquid component that binds the flour and yeast together to form the dough. Use lukewarm water to activate the yeast and encourage fermentation, which is crucial for bread rising.
4. Salt
Salt not only enhances the flavor of the bread but also regulates the fermentation process. It helps control the yeast activity and strengthens the bread structure. Use a high-quality salt, such as sea salt or kosher salt, for the best flavor.
5. Optional Add-Ins
You can customize your stovetop bread by adding various ingredients like herbs, spices, nuts, seeds, or dried fruits. Get creative and experiment with different flavor combinations to create a unique loaf of bread that suits your taste preferences.
Steps
Follow these step-by-step instructions to make delicious no-oven stovetop bread:
1. Prepare the Dough
In a large mixing bowl, combine the flour, yeast, salt, and any optional add-ins. Gradually add the lukewarm water and mix until a shaggy dough forms. Knead the dough on a floured surface until it becomes smooth and elastic.
2. Let the Dough Rise
Cover the dough with a clean kitchen towel and let it rest in a warm, draft-free place for about an hour, or until it doubles in size. This allows the yeast to ferment and create air bubbles that will give the bread its light and fluffy texture.
3. Shape the Bread
Punch down the risen dough to release any air pockets. Shape it into a loaf or round shape, depending on your preference. Place the shaped dough on a floured surface or baking parchment to prevent sticking.
4. Cook on the Stovetop
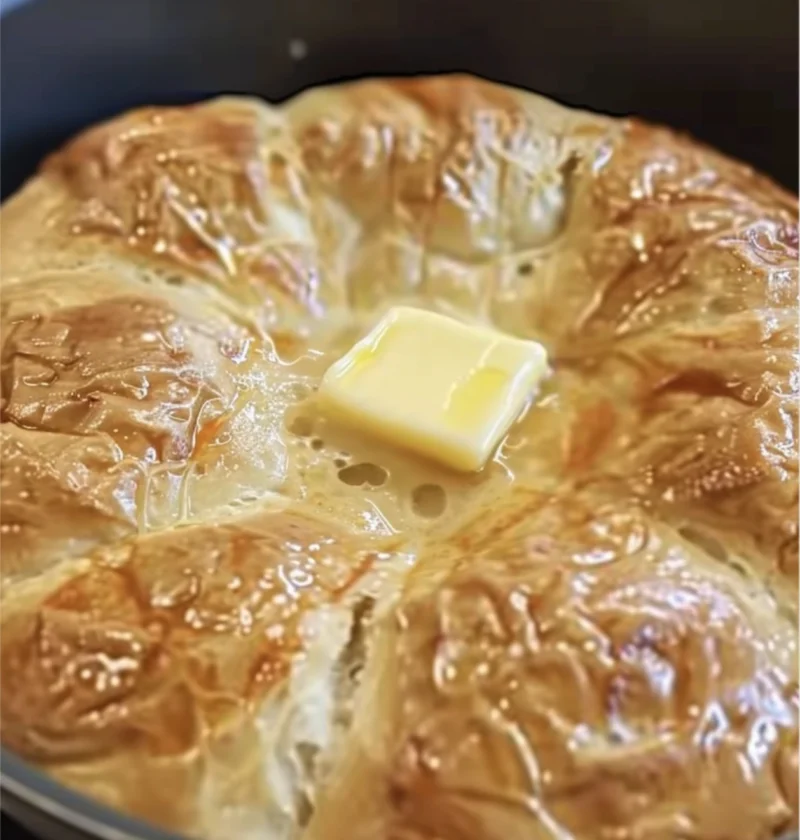
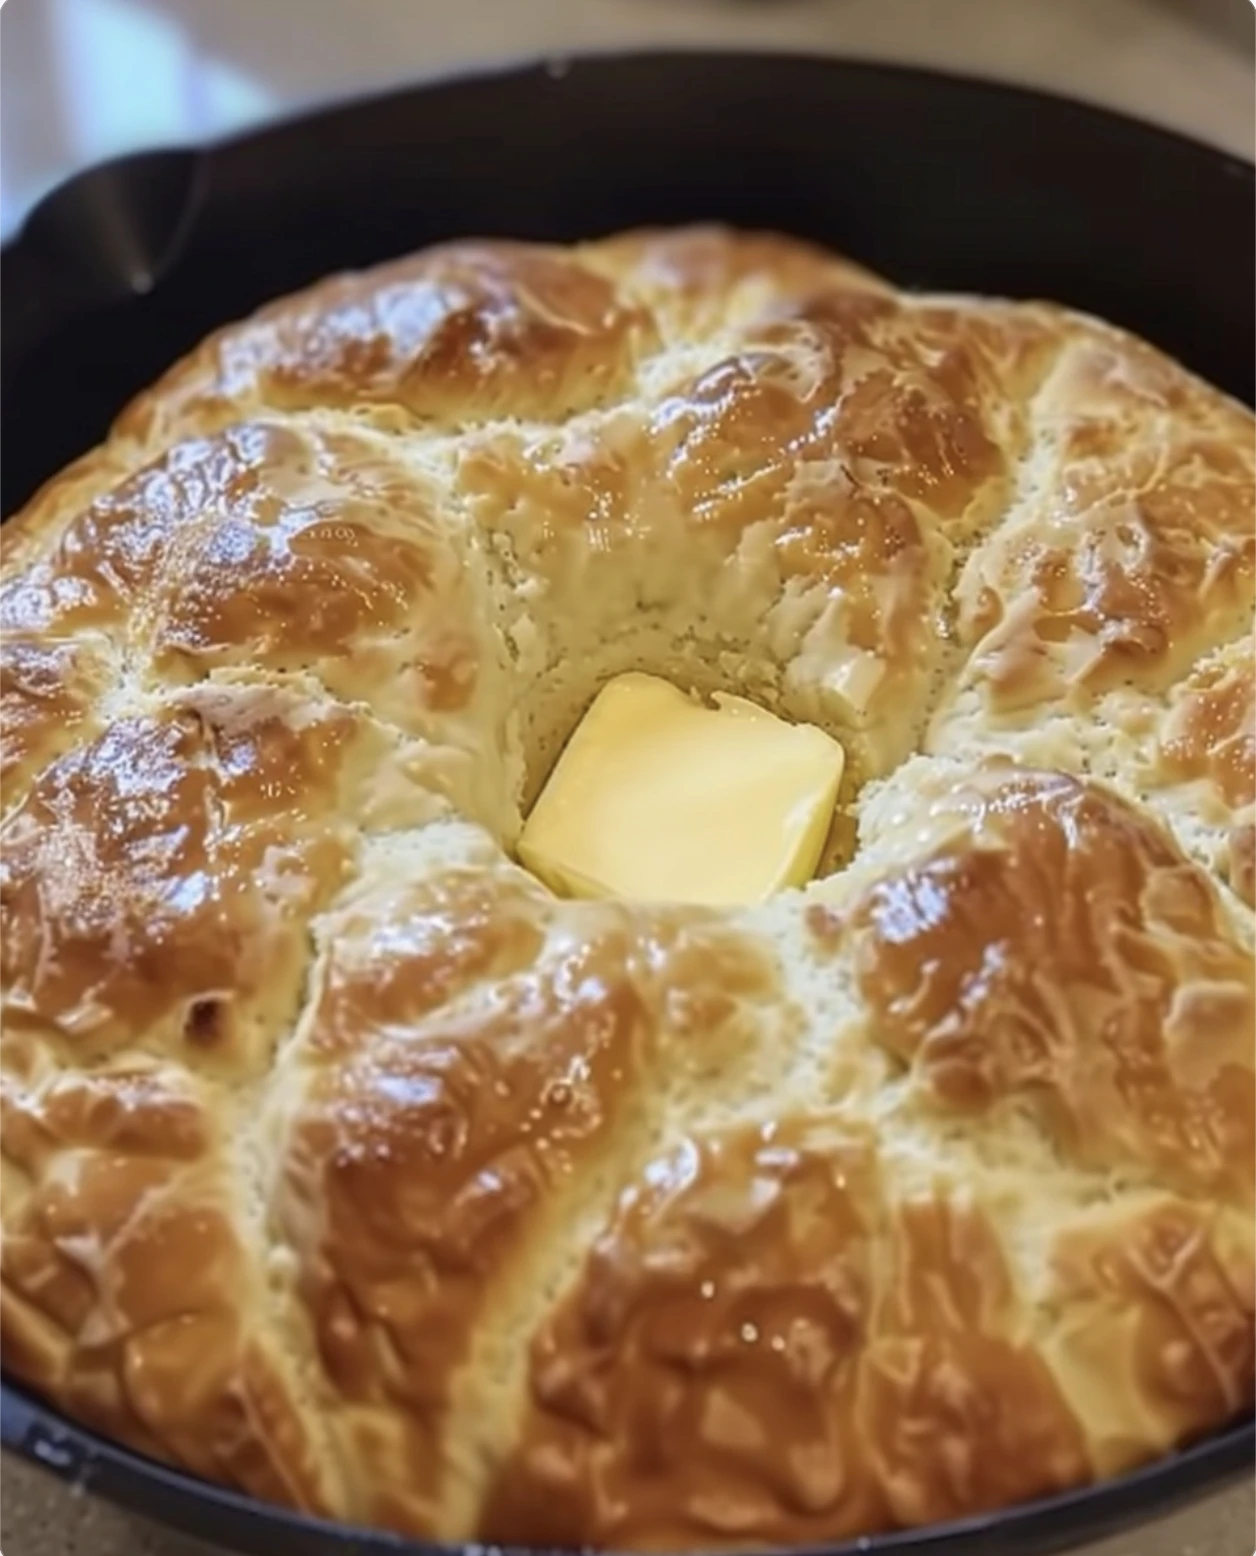
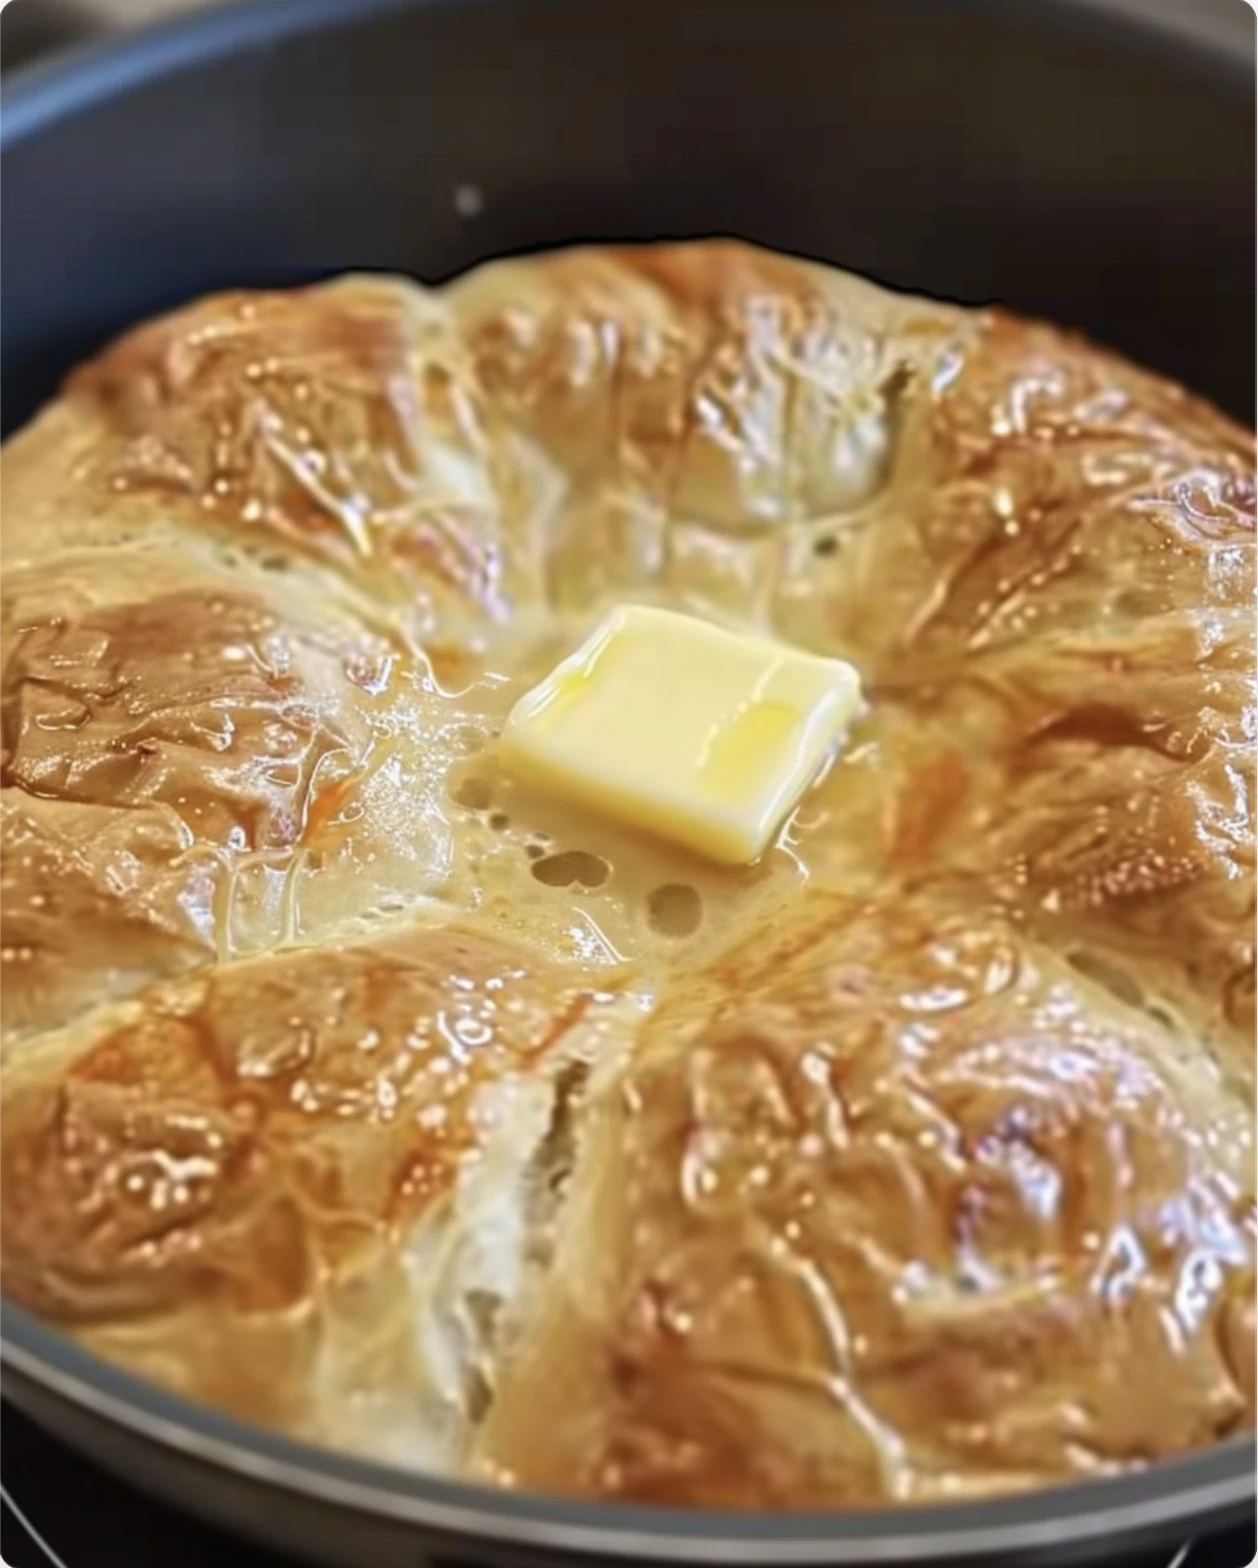
Heat a heavy-bottomed skillet or cast-iron pan on the stovetop over medium heat. Carefully transfer the shaped dough to the hot skillet and cover it with a lid to trap the steam. Cook the bread for about 20-30 minutes, flipping it halfway through, until it is golden brown and sounds hollow when tapped on the bottom.
5. Cool and Enjoy
Once the bread is cooked, transfer it to a wire rack to cool completely before slicing. Enjoy your freshly baked stovetop bread with your favorite spreads, soups, or as a standalone snack.
Variations
There are endless possibilities for customizing your stovetop bread to suit your taste preferences. Here are a few variations to consider:
1. Cheesy Bread
Add grated cheese to the dough for a savory and indulgent twist. Cheddar, parmesan, or mozzarella are excellent choices for cheesy stovetop bread.
2. Herb and Garlic Bread
Incorporate fresh or dried herbs like rosemary, thyme, or oregano, along with minced garlic, for a fragrant and flavorful loaf of bread that pairs well with pasta dishes or salads.
3. Whole Wheat Bread
Substitute part of the all-purpose flour with whole wheat flour for a heartier and nuttier bread with added fiber and nutrients. Whole wheat stovetop bread is perfect for sandwiches or toast.
Tips
Follow these tips to ensure success when making no-oven stovetop bread:
1. Use a Lid
Covering the skillet with a lid while cooking the bread helps trap steam, creating the ideal environment for the bread to rise and develop a crispy crust.
2. Monitor the Heat
Adjust the stovetop heat as needed to prevent the bread from burning or cooking too quickly. A moderate and consistent heat ensures even cooking and a nicely browned exterior.
3. Experiment with Flavors
Don’t be afraid to get creative with your stovetop bread by adding different herbs, spices, or mix-ins. The beauty of homemade bread is the ability to tailor it to your personal taste preferences.
Conclusion
No-oven stovetop bread offers a convenient and enjoyable way to bake fresh bread without the need for a traditional oven. By following a few simple steps and using basic ingredients, you can create delicious loaves of bread that rival any bakery product. Whether you’re a seasoned baker or a novice in the kitchen, stovetop bread is a rewarding and satisfying option for bread enthusiasts everywhere.
FAQs
Here are some common questions about making no-oven stovetop bread:
Q: Can I use whole wheat flour for stovetop bread?
A: Yes, you can substitute part or all of the all-purpose flour with whole wheat flour for a healthier and heartier loaf of bread.
Q: How long does stovetop bread last?
A: Stovetop bread is best enjoyed fresh on the day it is made. However, you can store any leftovers in an airtight container or resealable bag for up to 2-3 days.
Q: Can I freeze stovetop bread?
A: Yes, you can freeze stovetop bread once it has cooled completely. Wrap the bread tightly in plastic wrap or aluminum foil before placing it in a freezer-safe bag or container. Thaw the bread at room temperature before serving.
No-Oven Stovetop Bread
Enjoy the convenience of baking fresh bread without a traditional oven with this delicious no-oven stovetop bread recipe. Using basic ingredients and simple steps, you can create flavorful loaves of bread that rival bakery products.
Ingredients
-
2 cups all-purpose flour
-
1 tsp yeast
-
1 cup lukewarm water
-
1 tsp salt
-
Optional add-ins (herbs, spices, nuts, seeds, dried fruits)
Directions
-
In a large mixing bowl, combine flour, yeast, salt, and optional add-ins. Gradually add lukewarm water and mix until a shaggy dough forms. Knead on a floured surface until smooth.
-
Cover the dough and let it rise in a warm place for about an hour until doubled in size.
-
Punch down the dough, shape it, place on a floured surface, and let it rest.
-
Heat a skillet on the stovetop, transfer the dough, cover with a lid, cook for 20-30 minutes flipping halfway until golden brown.
-
Cool the bread on a wire rack before slicing. Enjoy with spreads, soups, or as a snack.