Introduction
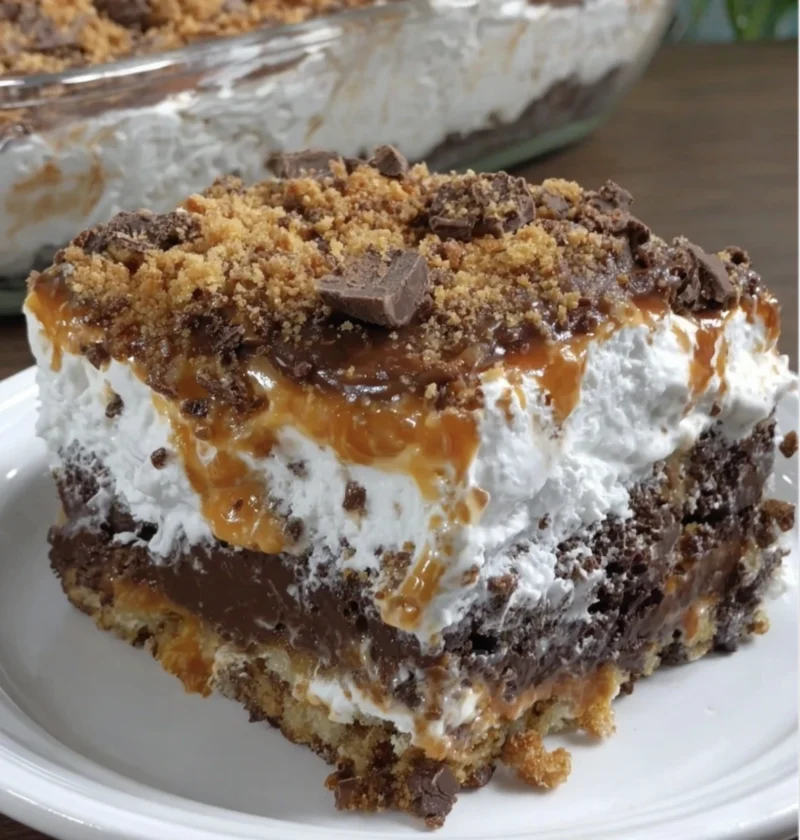
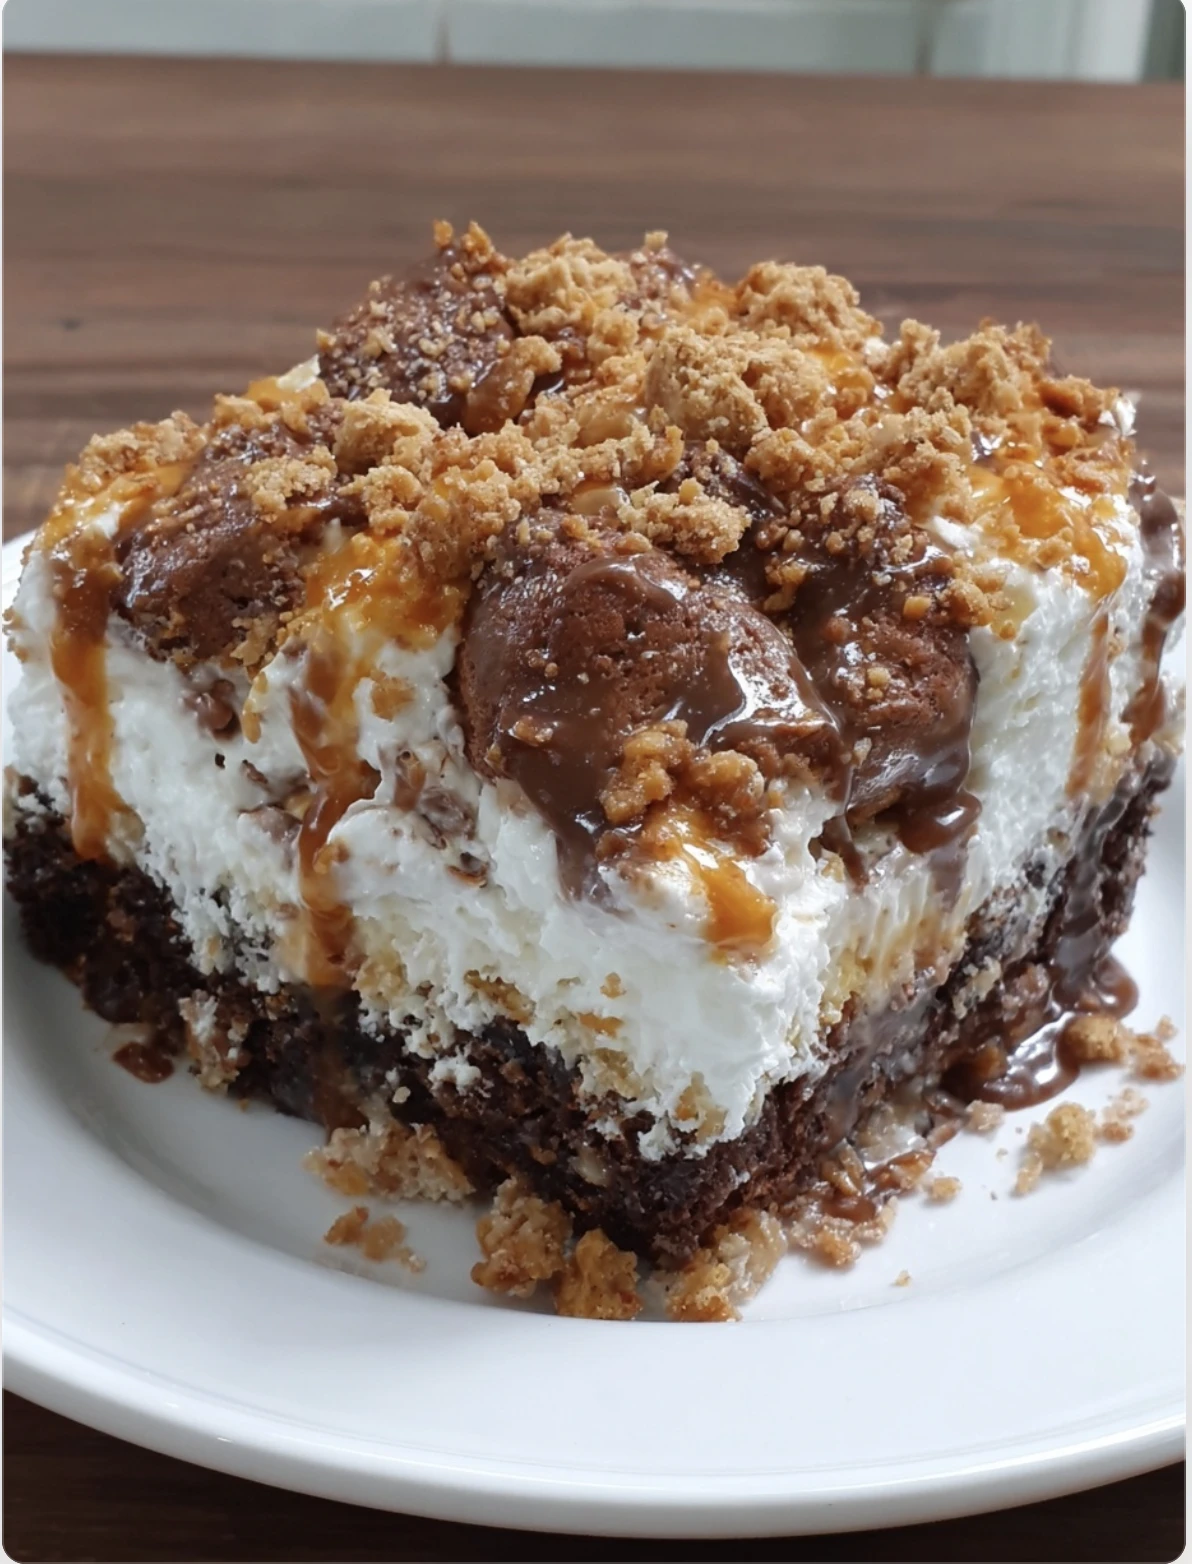
Butterfinger poke cake is a delightful dessert that combines the rich flavors of chocolate and peanut butter with a moist and decadent cake. This indulgent treat is perfect for satisfying your sweet tooth and impressing guests at any gathering. The combination of moist cake, sweetened condensed milk, and crushed Butterfinger candy creates a flavor explosion that will have everyone coming back for seconds.
Whether you are a seasoned baker or just starting out, this recipe is simple to follow and yields impressive results. The unique twist of incorporating Butterfinger candy into the cake makes it stand out from traditional desserts and adds a satisfying crunch to every bite. If you’re looking for a crowd-pleasing dessert that is easy to make but tastes like a gourmet treat, this Butterfinger poke cake is the perfect choice.
In this article, we will guide you through the process of making this delectable Butterfinger poke cake step by step. From gathering the ingredients to adding your own personal touch with variations, you’ll learn everything you need to know to create a memorable dessert that will have everyone asking for the recipe.
So, roll up your sleeves, preheat your oven, and get ready to embark on a delicious baking adventure with this irresistible Butterfinger poke cake recipe!
Ingredients
To make this mouthwatering Butterfinger poke cake, you will need the following ingredients:
1. 1 box of chocolate cake mix
2. Ingredients required by the cake mix (eggs, oil, water)
3. 1 can of sweetened condensed milk
4. 1 jar of caramel sauce
5. 6 Butterfinger candy bars, crushed
6. 1 container of whipped topping (such as Cool Whip)
7. Additional crushed Butterfinger candy for topping (optional)
These simple ingredients can be easily found at your local grocery store, and you may already have some of them in your pantry. Make sure to gather everything you need before starting the baking process to ensure a smooth and enjoyable experience.
Steps
1. Preheat your oven to the temperature specified on the cake mix box.
2. Prepare the chocolate cake batter according to the instructions on the box.
3. Pour the batter into a greased 9×13-inch baking dish and bake it in the preheated oven until a toothpick inserted into the center comes out clean.
4. Remove the cake from the oven and let it cool slightly.
5. Using the handle of a wooden spoon, poke holes all over the cake.
6. Pour the sweetened condensed milk over the cake, making sure it seeps into the holes.
7. Drizzle the caramel sauce over the cake, ensuring it covers the entire surface.
8. Sprinkle the crushed Butterfinger candy bars on top of the cake, pressing them gently into the cake.
9. Spread the whipped topping over the cake, covering the entire surface.
10. Refrigerate the cake for at least 2 hours to allow the flavors to meld together.
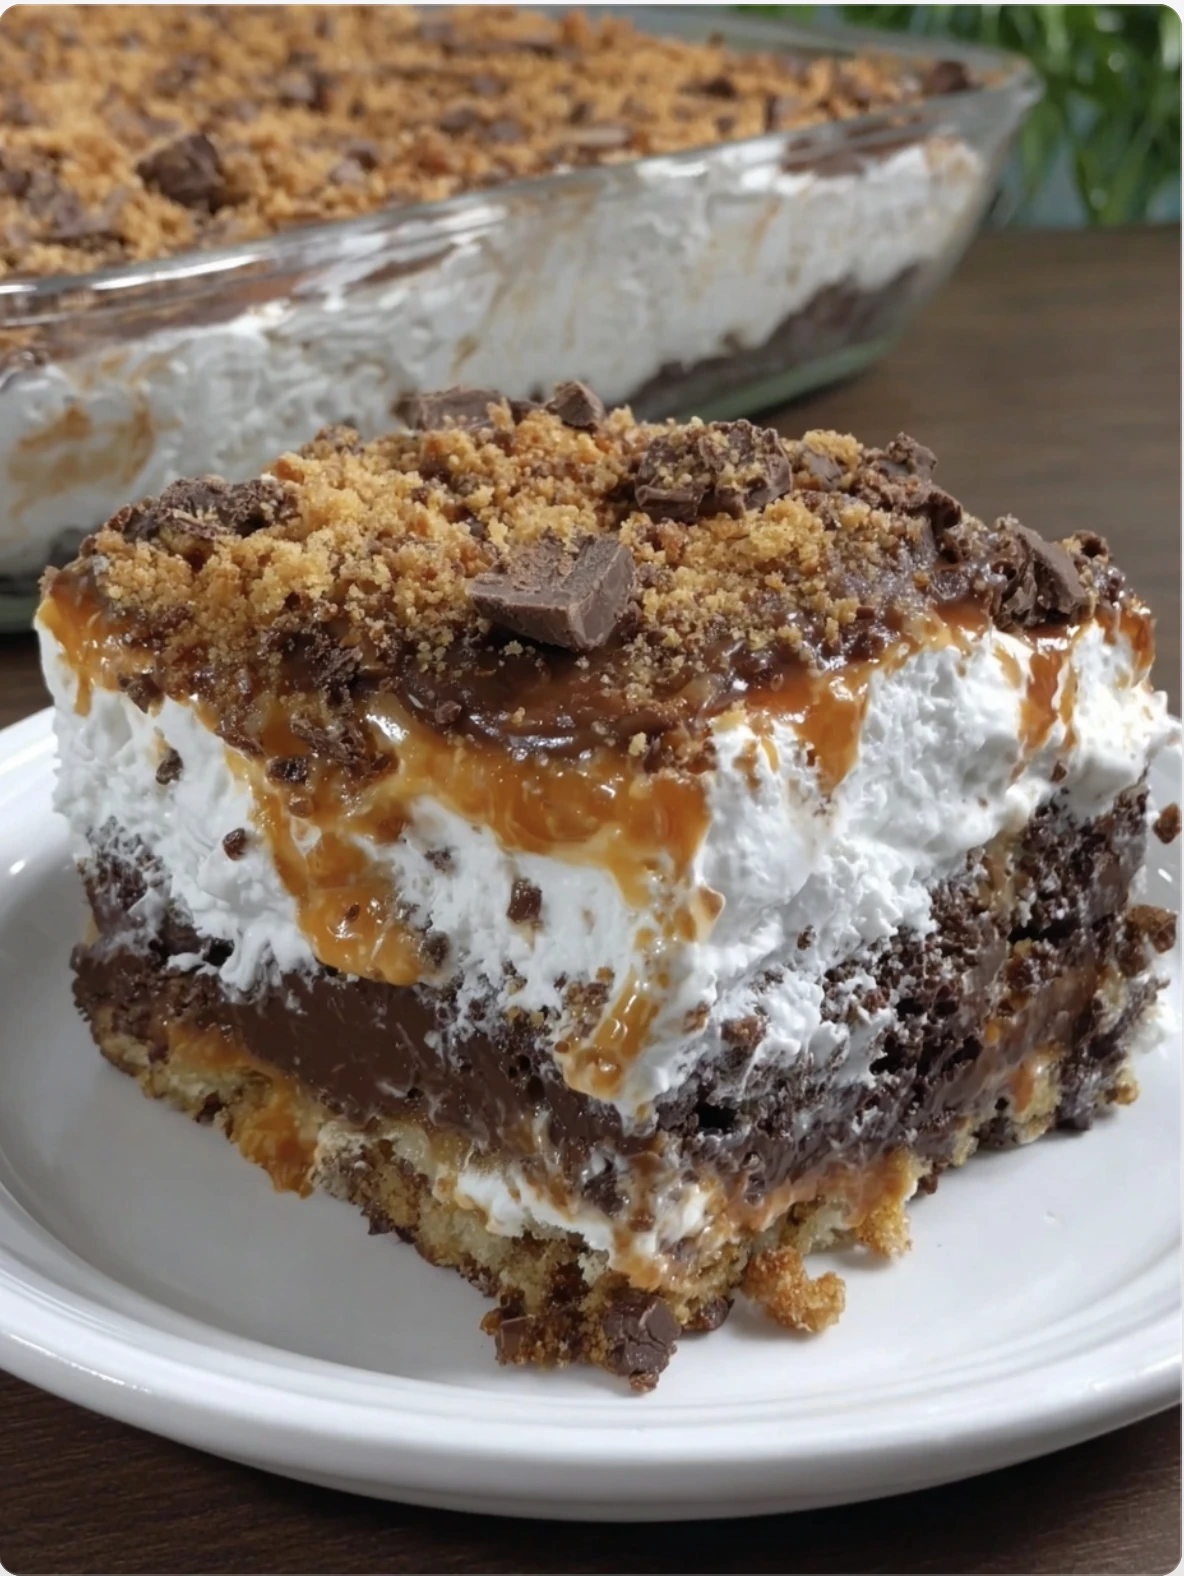
11. Before serving, sprinkle additional crushed Butterfinger candy on top for extra crunch and visual appeal.
Variations
While the classic Butterfinger poke cake recipe is delicious on its own, you can personalize it with various creative variations:
1. Substitute the chocolate cake mix with a different flavor, such as vanilla or peanut butter, for a unique twist.
2. Add a layer of peanut butter between the cake and the sweetened condensed milk for an extra burst of flavor.
3. Top the cake with chocolate ganache or hot fudge sauce for a rich and indulgent finish.
4. Mix chopped nuts, such as peanuts or pecans, into the cake batter for added texture and crunch.
5. Use crushed toffee bars or chocolate-covered peanuts instead of Butterfinger candy for a different flavor profile.
Feel free to experiment with different ingredients and flavors to create a Butterfinger poke cake that suits your taste preferences and dietary restrictions.
Tips
Here are some helpful tips to ensure your Butterfinger poke cake turns out perfectly every time:
1. Allow the cake to cool slightly before poking the holes to prevent it from crumbling.
2. Use a variety of Butterfinger candy bar sizes for a mix of textures in every bite.
3. Refrigerate the cake for several hours or overnight to enhance the flavors and make it easier to slice.
4. Garnish the cake with a drizzle of chocolate syrup or caramel sauce before serving for an elegant presentation.
5. Store any leftovers in the refrigerator, covered, for up to 3 days for optimal freshness.
By following these tips, you can elevate your Butterfinger poke cake from delicious to extraordinary and impress everyone who tries it.
Conclusion
In conclusion, Butterfinger poke cake is a delightful dessert that combines the irresistible flavors of chocolate, peanut butter, and Butterfinger candy into a moist and decadent treat. This easy-to-make recipe is perfect for any occasion, whether you’re hosting a party or craving a sweet indulgence at home.
With simple ingredients and straightforward steps, you can create a show-stopping dessert that will have everyone asking for more. The versatility of this recipe allows you to customize it to your liking, making it a versatile and crowd-pleasing option for dessert lovers of all ages.
So, next time you’re in the mood for a sweet treat that will leave a lasting impression, try making a Butterfinger poke cake and enjoy the delicious combination of flavors and textures in every bite.
FAQs
Q: Can I make this cake ahead of time?
A: Yes, you can prepare the Butterfinger poke cake a day in advance and refrigerate it until ready to serve. This allows the flavors to develop and the cake to set properly.
Q: Can I freeze the Butterfinger poke cake?
A: While it’s best enjoyed fresh, you can freeze the cake for up to 1 month. Thaw it in the refrigerator overnight before serving.
Q: Can I use a different candy bar instead of Butterfinger?
A: Yes, you can experiment with other candy bars or toppings to create unique flavor combinations in your poke cake.
Q: How long will the Butterfinger poke cake stay fresh?
A: When stored properly in the refrigerator, the cake will stay fresh for up to 3 days. Make sure to cover it to prevent it from drying out.
BUTTERFINGER POKE CAKE!
A delightful dessert that combines chocolate, peanut butter, sweetened condensed milk, and Butterfinger candy to create a moist and decadent cake with a satisfying crunch.
Ingredients
-
1 box of chocolate cake mix
-
Ingredients required by the cake mix (eggs, oil, water)
-
1 can of sweetened condensed milk
-
1 jar of caramel sauce
-
6 Butterfinger candy bars, crushed
-
1 container of whipped topping (such as Cool Whip)
-
Additional crushed Butterfinger candy for topping (optional)
Directions
-
Preheat your oven to the temperature specified on the cake mix box.
-
Prepare the chocolate cake batter according to the instructions on the box.
-
Pour the batter into a greased 9×13-inch baking dish and bake it until a toothpick inserted into the center comes out clean.
-
Remove the cake from the oven and let it cool slightly.
-
Using the handle of a wooden spoon, poke holes all over the cake.
-
Pour the sweetened condensed milk over the cake, making sure it seeps into the holes.
-
Drizzle the caramel sauce over the cake, ensuring it covers the entire surface.
-
Sprinkle the crushed Butterfinger candy bars on top of the cake, pressing them gently into the cake.
-
Spread the whipped topping over the cake, covering the entire surface.
-
Refrigerate the cake for at least 2 hours to allow the flavors to meld together.
-
Before serving, sprinkle additional crushed Butterfinger candy on top for extra crunch and visual appeal.